So, here is my solution. A poncho that can SAFELY be worn in the car seat! And you can make one yourself for a little over $4 if you possess the ability to cut with scissors and sew on two buttons. This took me 45 minutes, including the time it took to take pictures and nurse a baby. It probably will take you half that time if you are working uninterrupted.
Here's how the poncho works: (Tutorial is below the demo pictures)
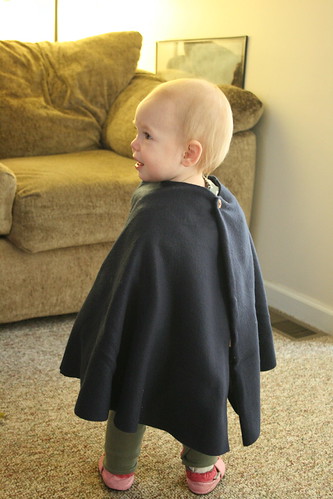
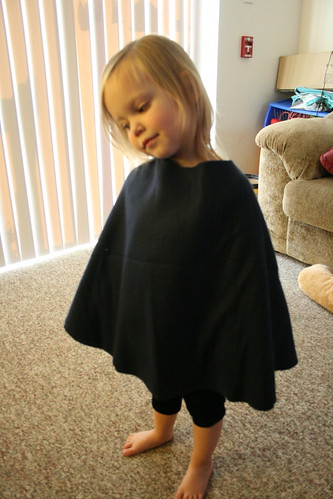
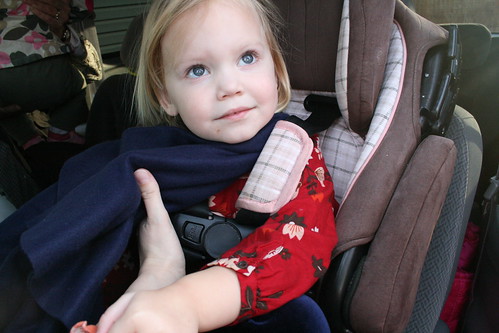
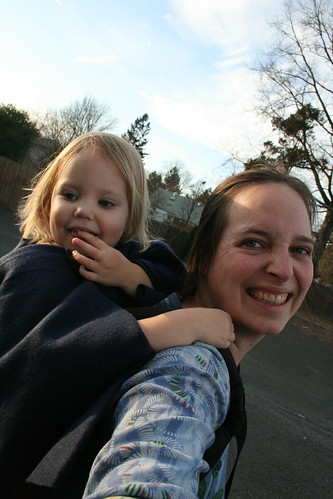
1. Put poncho on child, with buttons/opening to the back. Any child will do. (These pictures show my 13 month old and my three year old wearing the same poncho.)
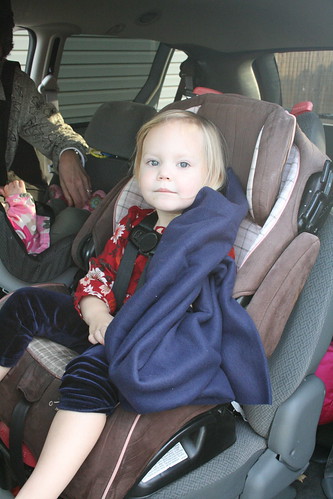
2. Place child in car seat, and lift the poncho out of the way so that it doesn't get caught underneath them.
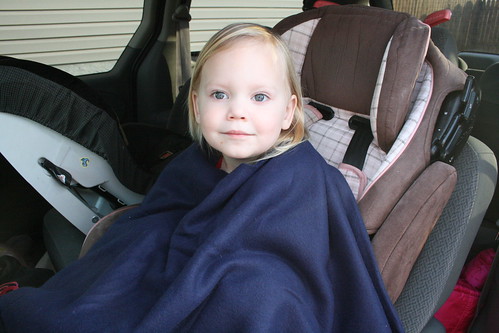
3. Hold poncho out of the way as you buckle the seatbelt. The poncho should be entirely free of the seat belt.
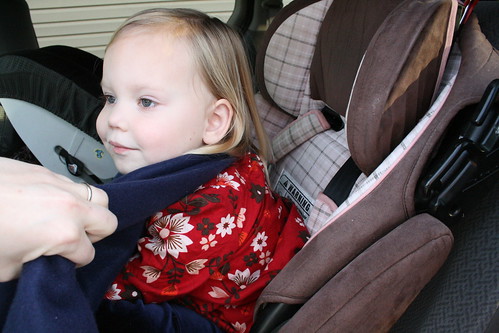
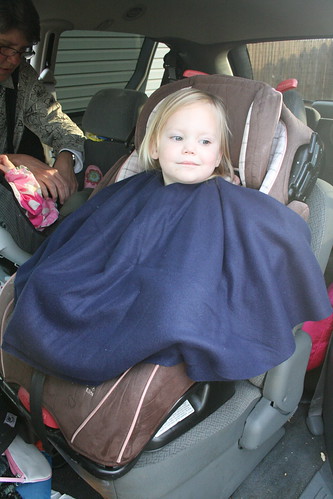
4. Tighten belt as usual. Return poncho to cover the child so they can keep warm until the car warms up.
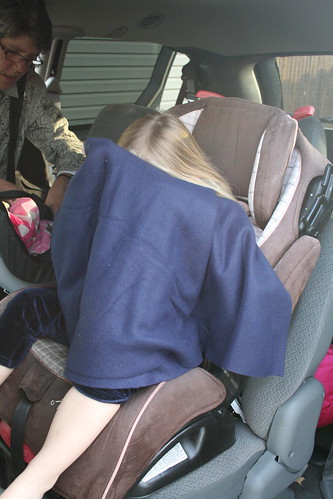
5. Once the car warms up, the child can just lift the poncho over their head and take it off. (Or, an older passenger can reach over and pull it off for them.)

BONUS USE: When you arrive at your destination, and you put your baby/child in a carrier, you can just turn the poncho around so the buttons/opening is at the front, and you have a cozy babywearing poncho!

Alright, are you ready to make your own?
Here's what you're going to need:
-a fleece blanket (I got mine at Family Dollar for $4)
-a tape measure
-a permanent marker
-sharp scissors
-two buttons (I just found two I liked in my extra button box)
-a needle and thread.

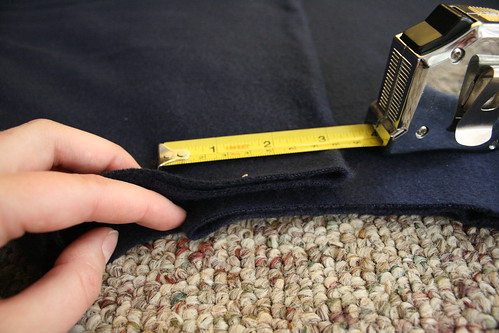
1. Fold the blanket into quarters. Starting at the middle of the blanket (the corner with no edges), measure towards the shortest side of the blanket (if your blanket has trim/edging, stop just before the edge of the blanket). Lock the tape measure to save this measurement.
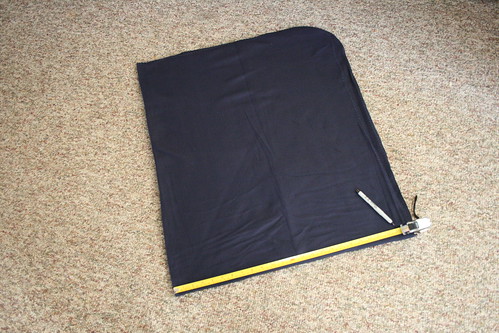
2. Using the tape measure as a compass, mark a spot every few inches in an arc all the way across the folded blanket.

3. Cut a smooth curve just inside the marked line (so that the marker marks won't be on your finished project). Cut through all four layers of fleece.


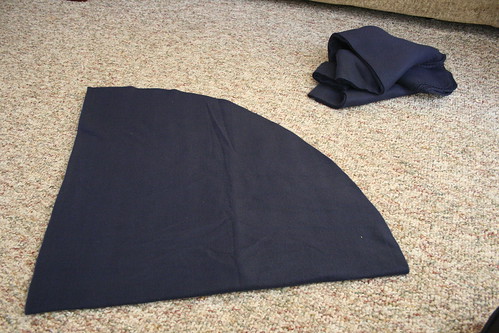
4. Discard the edge pieces, or use them for another project.

5. Lock your tape measure at 6 inches. Starting from the same corner you used before, mark an arc with a 6 inch radius. Cut it out.

6. Unfold once. You should have a rainbow shape two layers thick.

7. Fold one side about 1/3 of the way across.
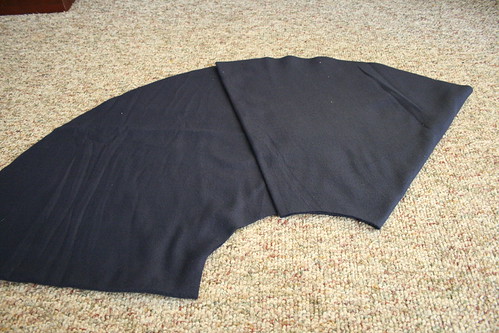
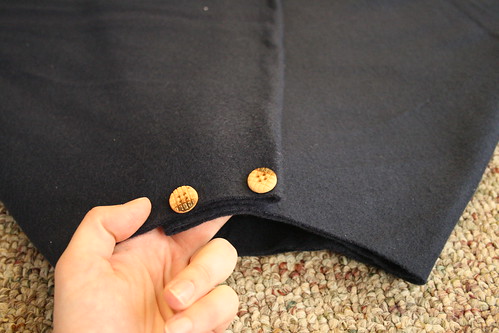
8. Fold the other side across so that the edges of the outer portions overlap by about 3 inches (give or take, depending on the size of your child's head - you can pin it, and make sure it fits over your child's head before sewing, if you'd like).
9. Line up two buttons at either edge of the overlapping section. Sew them in place, taking care to only go through the top four layers of fabric, not the bottom two.
10. That's it, you're done! You could add decorative edging, or sew around the neck hole, or add embellishments, but I'm not going to bother with any of that. Fleece won't unravel, so you can leave the cut edges as is, and it looks fine!
6 comments:
These are a great idea! Is the sewing on of the buttons the only thing holding the layers together? Sounds so simple that even a sewingly challenged person like myself could handle this project :D
Yeah, the only thing holding the layers together is the two buttons. It works, though. You could whip stitch around the collar to give it a bit of added security, if you wanted, but it's not necessary.
Wonderful idea! I pinned it on Pinterest :)
I loved this, it was so easy. Especially once my husband got me the really good scissors. The idea of using a blanket is genius. I found one for under $3.
Awesome! I am totally doing this, but I am also skipping steps 1-4 because I am that non-crafty and don't care if it hangs pretty! :)
Post a Comment