The fort kit I saw for sale seemed pretty flimsy, so I went for 1/2" PVC pipe for my fort frame. You could go for 3/4" or even 1" if you want an even sturdier fort. Once you have the fittings, you can buy more sizes of PVC to make different sizes and shapes of forts, too. The 4'x4'x4' fort we made is actually pretty big, a 3' cube would probably have been just fine. You could also make any measurements you want, just make sure you have 4 pipes for each dimension (so, for example, to make a 3'x4'x5' fort, you would need 4 3' pipes, 4 4' pipes, and 4 5' pipes). We spent about $25 on materials for this project, coming in at about half the price of the retail fort kits, and twice as sturdy.
Materials Needed:
- 12 4' segments of 1/2" PVC pipe (We bought 6 10' pipes and had a friend cut them for us with his circular saw. This left us with 6 2' segments, which I use to make a smaller fort/tunnel.)
Cost: 6 * $1.68 = $10.08 Link - 8 1/2" side outlet elbow fittings
Cost: 8 * $1.18 = $9.44 Link - 8 1/2" male adapters (The elbow joints we bought had threading on one outlet, so we had to get these to make a non-threaded outlet.)
Cost: 8 * $0.31 = $2.48 Link - Blankets/sheets to cover (We used three twin flat sheets, one tablecloth, and one queen flat sheet.)
Cost: free from our linen closet.
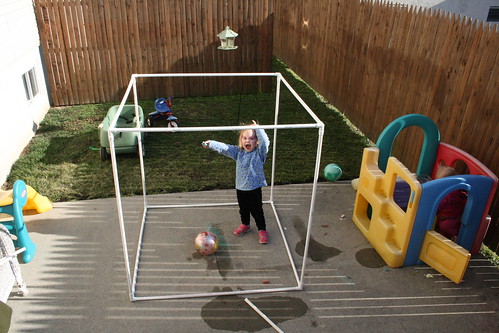
1. Assemble the frame. Make sure the longer sides of the joints are all pointing in one direction (ours are all vertical), so that they don't throw off the lengths of the sides.

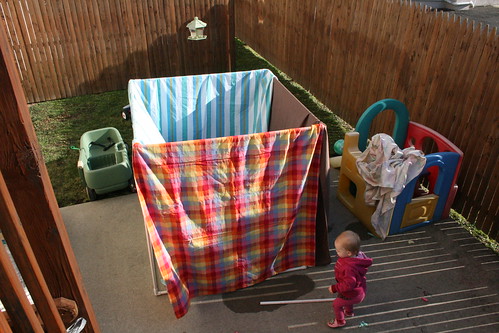
2. Drape the smaller sheets/tablecloths over the sides. (This gives a little bit of "grip" so the roof sheet doesn't slide off too easily. I may add some velcro strips one day, to add to the grippiness.)
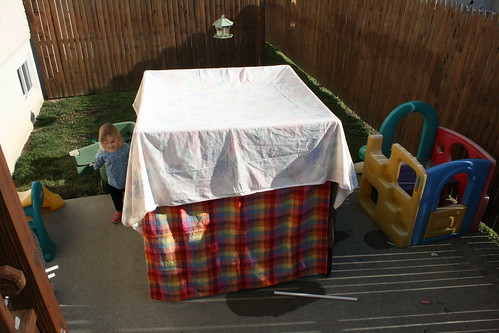
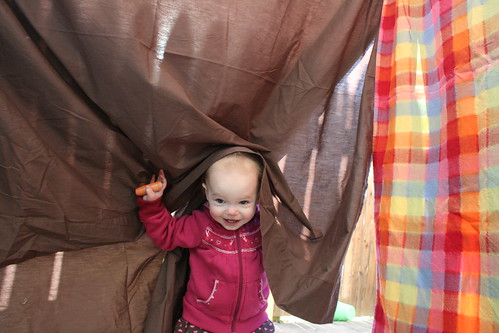
3. Drape the biggest sheet over the top as a roof. I didn't bother making a door, because the girls were content to enter and exit via the corners.
4. Collapse and store in the closet when not in use. When disassembled, the pipes only take up a few inches of space in a corner.
Notes:
- I have seen fancier PVC playhouses elsewhere on the Internet, but I really was shooting for the simplicity and modifiability of an old-fashioned blanket fort. If you want to keep it assembled as a semi-permanent structure, you could make panels for the sides, more like this PVC playhouse.
- These pictures were taken outside because there wasn't enough room in my house for me to get pictures of the whole thing at once. This really is designed to be an indoor fort, however. If you want your fort to be used outdoors on a regular basis, you will have to secure the sheets somehow, otherwise your sheets will keep blowing away. I know this from experience.